Using NoIP.com as a DNS Service
Overview
Qarbine’s host instance is best run with a valid DNS entry rather than a self-signed certificate. The latter results in lots of web browser confirmations for example. The noip.com service is free and quite easy to use.
Prerequisites
The public IP address of your Qarbine instance is required for this configuration. Copy it from your AWS or Azure instance property page.
Signing up for a Free Account
Navigate to
https://noip.com
Click
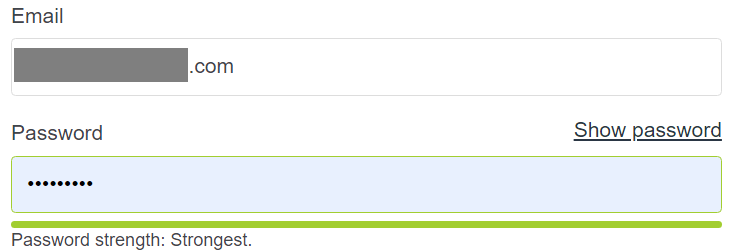
Enter your email address and desired password.

Check
Click
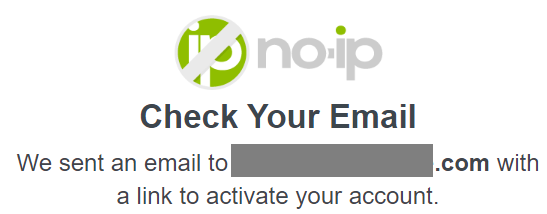
This shows the following

Check your email

Click the button below

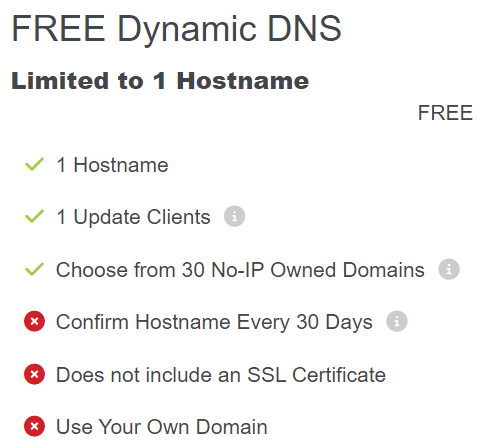
On the welcome page choose your desired service option. In the simplest example, click the highlighted “Skip” link.
In this case you get

Note that the Qarbine Deployment Wizard has an option to obtain an SSL certificate from Let’s Encrypt which is a free SSL certificate service. Let’s Encrypt will not generate a certificate for the AWS public hostname. Thus the requirement to decide on a hostname below for use here and by the actual instance as well.
Click
Adding a DNS entry
Enter the base name and choose the domain suffix.

Enter your public IP address.
Click
The upper right should show
The web page then shows the entry.

Renewing the Registration
Depending on the service option chosen you may be required to renew the DNS name to IP mapping. An email is sent prior to expiration from noip.com to remind you of this.
Changing the DNS Mapping
At any time you can modify the DNS to IP address mapping within the noip.com console. Depending on the DNS time to live (TTL) setting. It may take time for the update to propagate and be set for the web clients.
References
See https://noip.com for further details on this DNS service.